Care and Maintenance of Carbon and Carbon Damascus Steels Part 3: Sharpening

There are plenty of different ways to sharpen simple carbon steels, just about every abrasive will work. Simple carbon steels form primarily iron carbides when hardened, which aren’t as hard as other carbides that make ‘super steels’ a pain to sharpen. Simple carbon steels can be hardened to low 60’s on the Rockwell C scale and will hold an edge extremely well when cutting normal materials (I don’t consider sandpaper to be a normal material, although I do cut it regularly sizing sandpaper for a 9″ disc grinder).

I strongly recommend learning freehand sharpening, it’s simple to learn with good instructions/guidance and a great skill to learn. Once you’ve got the muscle memory down then just about anything harder than the steel will work for sharpening a simple carbon steel blade if you don’t have a sharpening stone with you but want to touch up an edge.

Murray Carter has a great DVD on sharpening that he uploaded to youtube for free viewing – I highly recommend this as a starting point for learning freehand sharpening, practice a few times a week with your least favorite kitchen knife:

For kitchen knives and finer slicing knives this is more/less the method I use, starting with 1k King stones and then moving to 6k King stones to finish. As the King stones need to be saturated, I store them in water on the counter next to the laundry room sink (change the water every 6 month or so to prevent small civilizations from forming in there.) When traveling (camping/roadtrip/backpacking/knife shows) I usually opt for diamond stones or ceramics where I don’t need so much water. They just need to be cleaned frequently with a little water and Barkeeper’s Friend or Comet powder, otherwise the removed steel clogs up the abrasives.

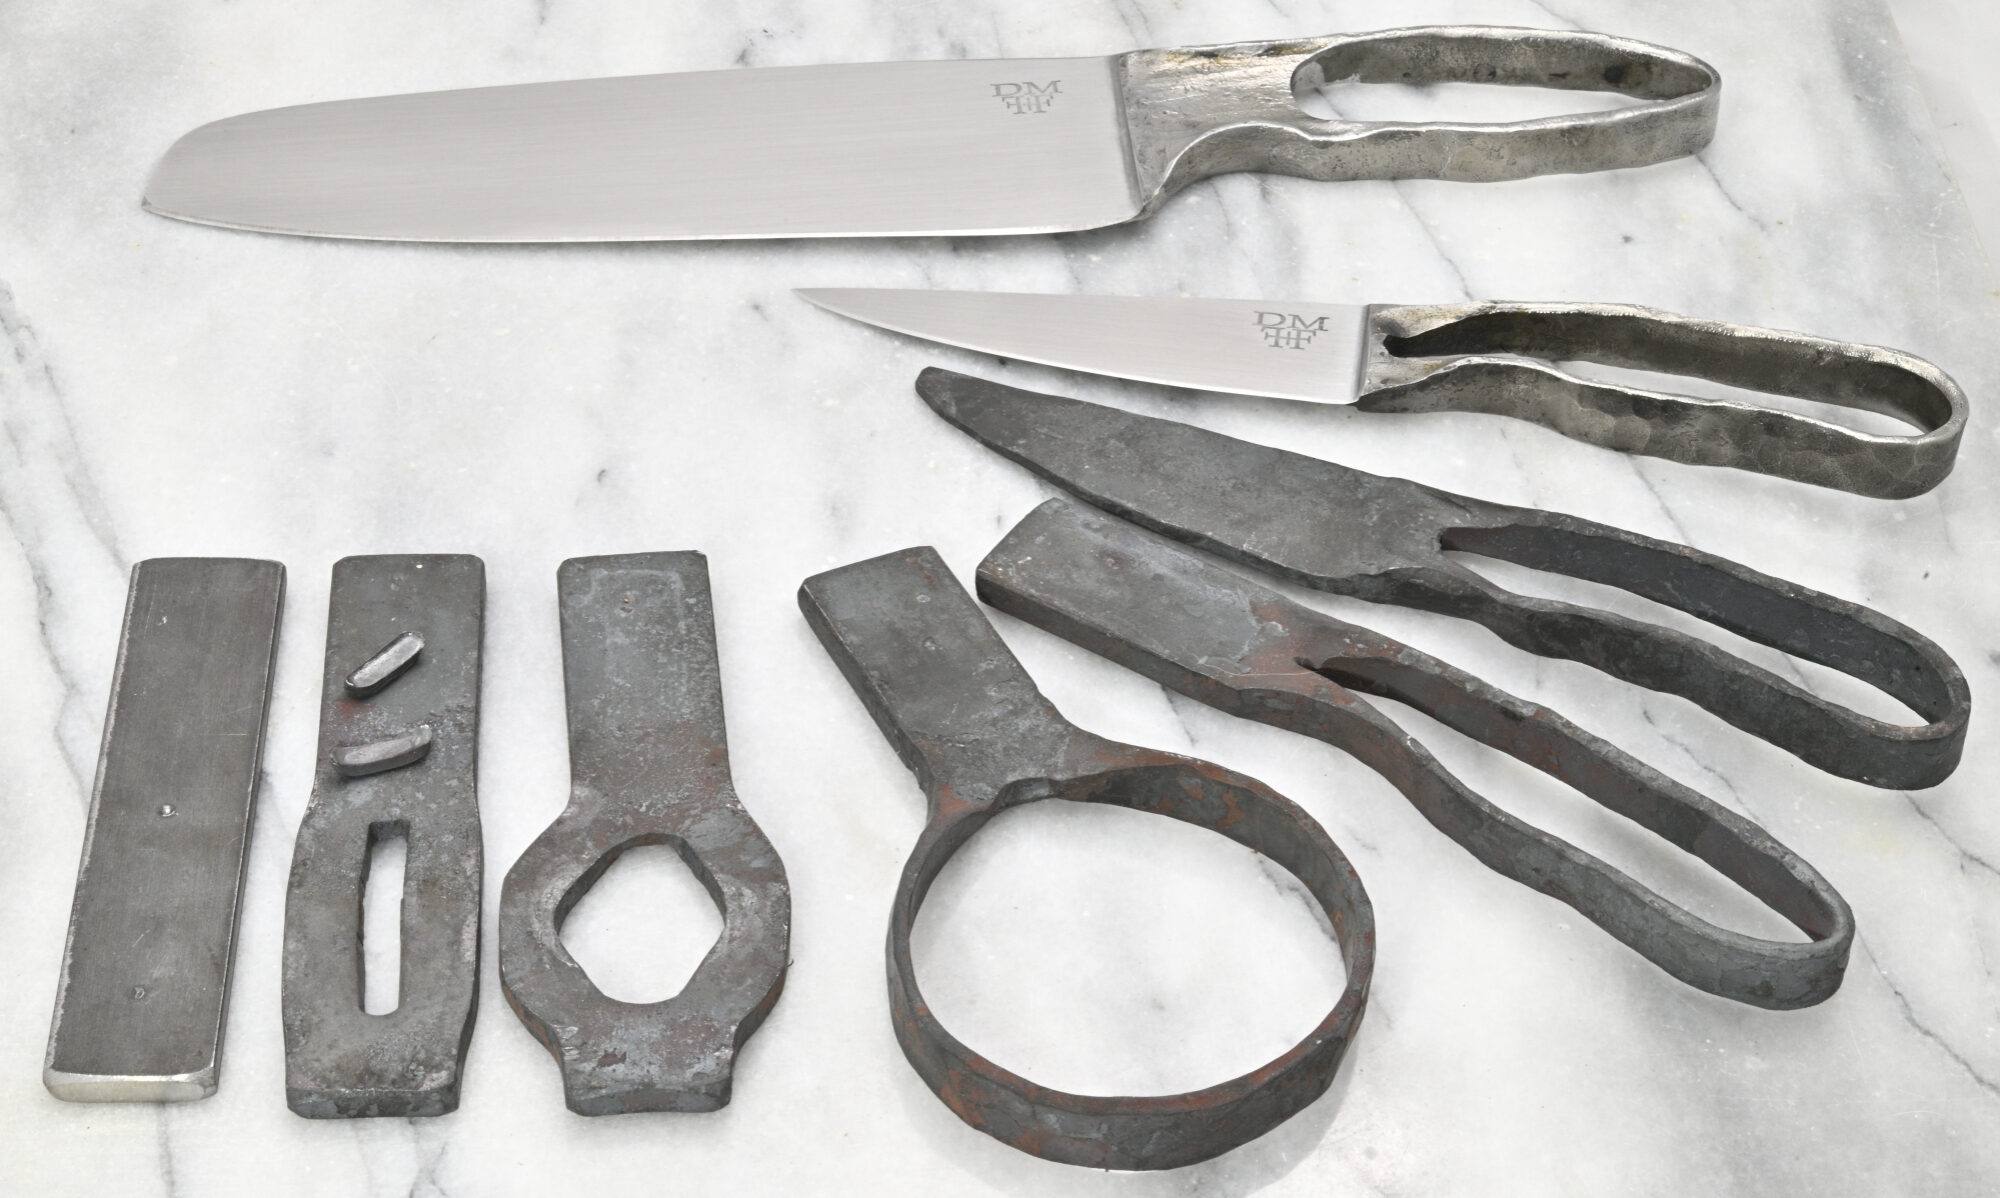
For general use knives I prefer a bit of a convex edge that can take a bit more abuse. To define the edge bevels, I use a rotary platen on my 2×72 belt grinder with 220 grit belt. The rotary platen is belt supported and lets me set the half-angle by rotating the set of wheels and checking the angle with a digital level. This lets me dial in 30, 35 or 40 degree total angle bevels quickly and easily by grinding with the edge facing down and perpendicular to the ground.

Once I build up a burr along the entire length of the edge then I remove that burr on a buffer. I prefer a medium felt wheel with pink scratchless compound but white or green compound work fine as well as will other buffing wheels. Quick and easy way to put a bevel and final edge on a blade. Just clean off any compound that built up on the blade.

One thing to keep in mind with sharpening – the finer the edge, the more frequently you will need to maintain it… Strops loaded with compound (diamond, buffing compounds/rouge etc) are a quick way to touch up an edge that just lost it’s hair-popping sharpness.

Care and Maintenance of Carbon and Carbon Damascus Steels Part 2: Rust and Patinas

If you keep your carbon steel clean/dry/oiled or build up a nice patina on it, you won’t have any issues with rust.  But…  if you do get surface rust or minor pitting, it’s pretty simple to clean up and may leave a bit of character to the steel (the residual pitting and tarnish left after cleaning up the rust, not the rust).

Cleaning rust/pitting

Unless it’s a relic that was buried for a while, most rust is just minor surface corrosion.  For light surface rust a simple polish like Flitz may be enough to clean things up.  But if there is pitting, then fine steel wool (000 or 0000) along with some WD-40 is a better approach and quickly cleans down to base metal.  Steel wool will remove your patina too.  Naval Jelly is another option, but if you think that’s the best route, then sending it in for spa treatment is likely a better idea (contact me about spa treatment.)  Vinegar, lemon juice and other mild acids will also do the trick, but that’s not what I use so can’t recommend it.

Creating Patinas

Patinas are a surface layer that helps prevent rust – it’s a more rustic alternative than keeping a layer of oil, wax or polish on the steel.  One of the simplest methods to force a patina on carbon steel is application of cheap yellow mustard.  Clean the steel first with Dawn or equivalent and then apply a thin layer of mustard and let it sit for a while, 10-20 min is my starting point before rinsing/wiping clean, DRYING, and applying another coating.  I try to avoid putting mustard on the edge and after applying wipe the edge clean.  You can also mask areas with nail polish if you want to create patterns or simply apply mustard to limited areas and/or apply a range of thicknesses of mustard.  Forcing a patina like this (mustard) works both on carbon steel and carbon steel damascus.  Basically you repeat the cycle until you reach the desired patina, and then coat at least the edge with oil.  Note: I just rinse/wipe off the mustard with water (no soap) between applications, I only clean initially before starting the process.  Patinas will change over time with use, but this is the traditional way of prevention corrosion on carbon steel that has worked for 

If you decide to go the patina route over regular use of oil/wax/polish, then I’d encourage experimenting with it on a simple mono-steel (non-damascus) blade first to get the hang of it, getting a feel for how thick of a coating to use.  I don’t generally force patinas on damascus steel with mustard – usually they just develop over time with kitchen knives or knives used for eating/food prep.  It’s more common to force a patina on something that could use some corrosion resistance but wouldn’t patina during normal use (e.g. woodworking blades.) 

Here’s my personal leather knife as an example.  I left the logo side free of mustard as a reference and then applied expired French’s Yellow Mustard for 10 minutes at a time in thin coatings (thin enough I could still see most of the metal).  Here’s the results:

First the non-patina (control) side – this is what the other side started like as well – this blade had a buffed finish so not all that dark to start with..
First thin coating of mustard.
After the first 10 min mustard bath.
After the second mustard bath.
After the third mustard bath.
And after applying a thin coating of mineral oil – the color faded a bit but will come back as the oil layer thins.

And here’s similar treatment on a 1095 blade – 4 rounds and only oiled the edge:

Round 1
Round 2
Round 3
Round 4 – Done

Next up, which will “probably” next week – either sharpening or (re-)etching damascus.

Care and Maintenance of Carbon and Carbon Damascus Steels Part 1: Cleaning and Protective Coatings

This will be the first of a set of posts on maintaining carbon steel and pattern-welded carbon (Damascus) steel tools.  Other posts will include rust/patinas, sharpening, re-etching, leather care and whatever else I think of including over the next few weeks.

Blade Basics

First off, a couple quick knife and carbon steel basics:

– Don’t leave a carbon steel knife wet (or most stainless steels) – wipe them dry when not using them.  

– Don’t put a knife through the dishwasher…  If you need to clean it, clean it by hand and dry it immediately.

– Don’t cut on surfaces harder than the blade like ceramics or glass as this will very quickly dull an edge.

Otherwise, use a carbon steel or pattern-welded blade like any other knife.  I use mine regularly for cutting up cardboard boxes, cutting hay bale strings, for food preparation, as a dinner utensil and for making kindling (we heat our house with a wood stove that I start every morning around 5).

Cleaning

I don’t clean my knives often since there’s no good reason after most cutting tasks, really only after cutting something like raw chicken or if the knife got bloody.  Blue Dawn soap is my standard go-to, both for cleaning dirty knives as well as cleaning steel in preparation for etching.  Other solvents like acetone, isopropyl alcohol and tert-butyl acetate also work well.  Tert-butyl acetate is the best as it won’t leave any residual moisture…  but WD-40 after cleaning will also ensure no moisture stays on the surface, as will compressed air. 

Protective Coatings

After cleaning, which exposes the surface to the environment, it’s important to apply some sort of protective coating.  Even if you haven’t cleaned a knife it doesn’t hurt to apply a protective coating regularly, especially if you live in a humid environment.  There are a wide variety of coatings available, both food-grade (food safe) and ones not approved for use with food.  The products I use and recommend include oils, waxes and polishes.  Follow the manufacturer’s instructions for their application, using clean paper towels, toilet paper and microfiber cloths.

Oils

I believe oils are best for blades primarily used for food preparation, as well as pattern-welded blades where darker etched areas are desired.  Mineral oil is the standard and available both in food-grade and non-food-grade (usually for horses, available at farm stores).  Mineral oil is the main ingredient in a lot of knife/gun oils out there (e.g. Ballistol, Rem Oil.)  Camellia oil is another that I currently use and is common with Japanese carbon steel cutlery.  I haven’t switched completely to this from mineral oil, but I’m headed that way.  WD-40 works fine as well, but does tend to evaporate relatively quickly compared to the other oils.

Waxes


I like waxes for bushcraft knives as well as long term storage.  Renaissance Wax is my go-to for longer term storage, but good carnauba wax works well too.   Polishes
For me, polishes usually do a bit of cleaning as well as being a protective coating.  Flitz and Simichrome are my favorites.  The USDA-approved Flitz seems to be a bit more abrasive than the blue variety of Flitz or Simichrome, and typically it will reduce the contrast slightly on pattern-welded steel as the darker areas will lighten up a bit (although the bright layers shine up a bit, so it’s a trade-off).  I find polishes best for brighter blades like mirror polish or pattern-welded blades where there are more bright layers than dark, typically in higher layer count patterns).  Polishes may also remove a bit of patina, but are a great first step if a blade starts to discolor or rust.

Next week – rust and patinas.